
Collecting specific details for bill payments like meter numbers for electricity or IUC numbers for cable TV while maintaining a seamless payment UI across web and mobile platforms can be a massive headache for developers.
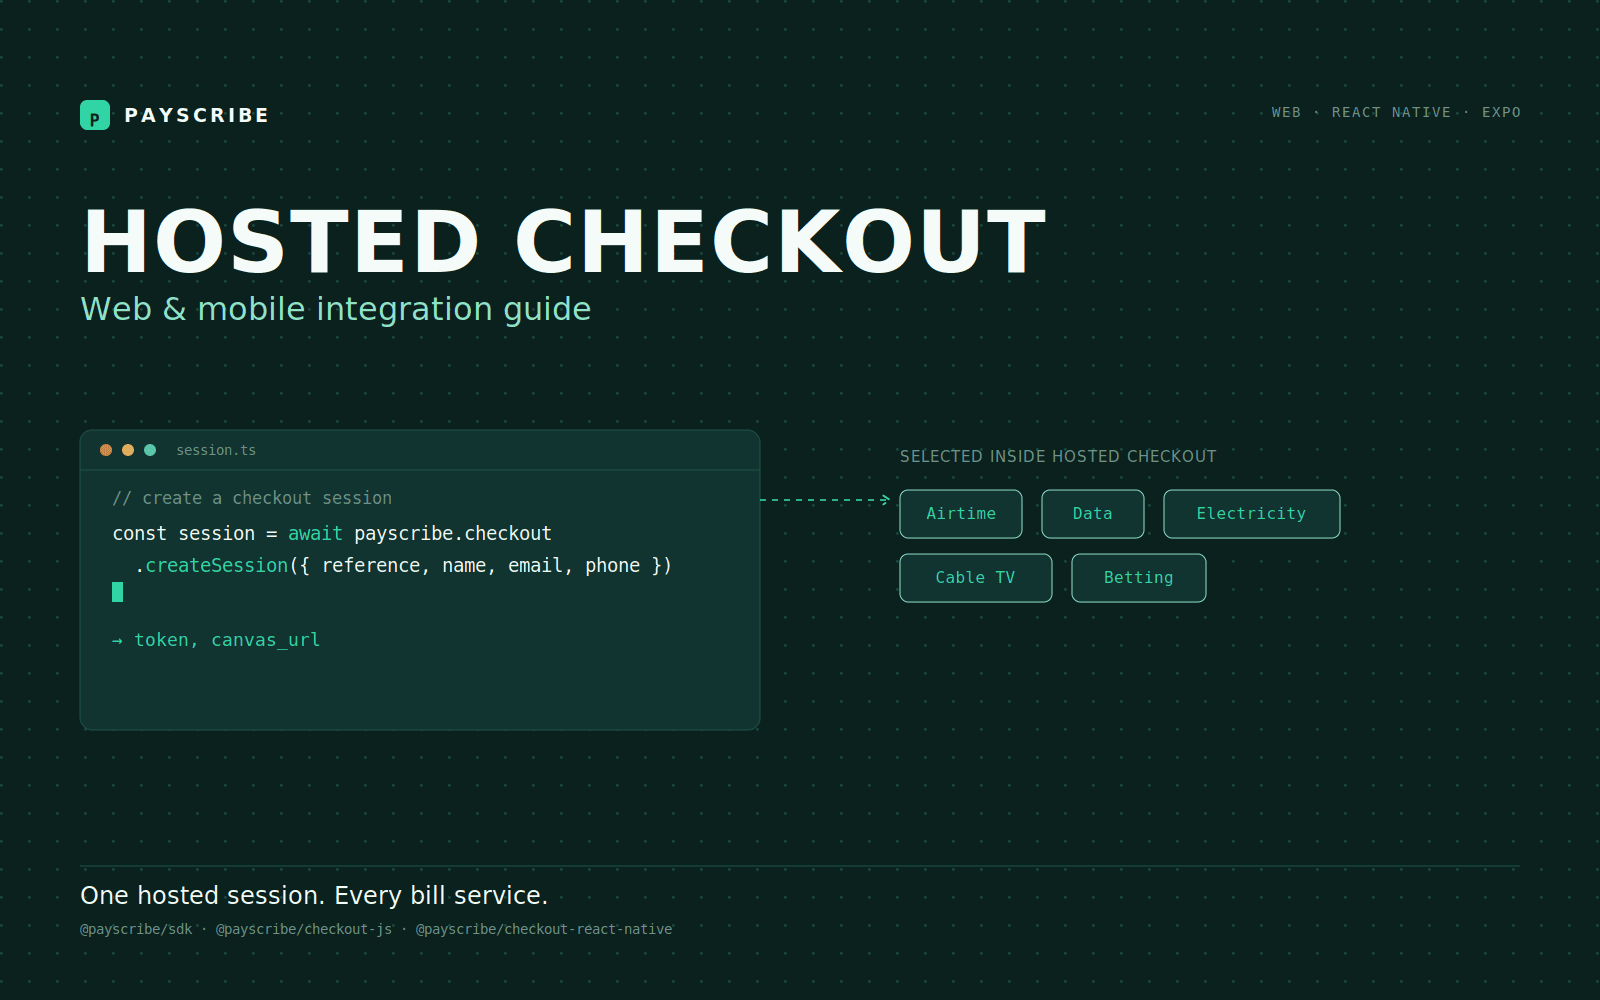
To solve this, we are excited to introduce the new Payscribe Hosted Checkout. This new system simplifies the integration process: your application creates a short-lived checkout session, and Payscribe handles the heavy lifting of service selection, data validation, and bank transfer payments inside a beautifully hosted experience.
Whether you are building for the web or deploying a mobile app, here is everything you need to know to integrate Payscribe Hosted Checkout today.
The Three-Package Architecture
To keep security tight and integration simple, the Payscribe ecosystem is divided into three complementary packages:
- @payscribe/sdk: Runs on your backend to securely create checkout sessions and interact with server-side APIs.
- @payscribe/checkout-js: Runs in the browser and opens Hosted Checkout in a responsive web modal. It supports plain HTML, React, Vite, Vue, Svelte, and other browser frameworks.
- @payscribe/checkout-react-native: Designed for React Native and Expo applications, opening the checkout in a full-screen native modal backed by react-native-webview.
A standard production integration uses the SDK on your server, paired with one of the client packages on your frontend.
Session creation specifically has to happen on your server, not in the browser or mobile app, because it's the one step that requires your secret key. Your backend is the only place that key should ever live the client packages only ever see the public session token and canvas URL that your backend hands back to them.
Step 1: Creating a Session on Your Backend
The golden rule of the new Hosted Checkout is that service selection, metadata, and transaction amounts do not belong in the session creation request. Instead, you create a generic payment session tied to the customer's identity, and the customer selects their desired service (Airtime, Data, Electricity, Cable TV, or Betting) directly within the hosted UI.
Here are the fields for creating a session:
Required Fields
- reference: A unique merchant-generated reference for this checkout attempt. Never reuse it.
- name: Customer's full name.
- email: Customer's email address.
- phone: Customer's phone number.
Not Required Fields
- currency: Transaction currency. Defaults to NGN.
- origin: The merchant origin allowed to host the checkout.
- successUrl: Redirect destination after successful payment.
- cancelUrl: Redirect destination after cancellation.
Do not add service, metadata, amount, or allowedOrigin to this request, those belong to the hosted flow, not session creation.
One thing worth knowing before you go looking for a bug that isn't there: a freshly created session can come back with service: "pay" and amount: null. That's expected it just means the customer hasn't picked a bill service yet. Don't treat it as an error.
First, install the server SDK:
npm install @payscribe/sdk
Next, create an endpoint on your backend to generate the session. Here is an example using Express and Node.js:
import crypto from "node:crypto";
import express from "express";
import { Payscribe, PayscribeApiError } from "@payscribe/sdk";

const app = express();
app.use(express.json());

const payscribe = new Payscribe({
  secretKey: process.env.PAYSCRIBE_SECRET_KEY!,
  environment: process.env.PAYSCRIBE_ENVIRONMENT === "production" ? "production" : "sandbox",
});

app.post("/api/checkout-session", async (request, response) => {
  try {
    const { name, email, phone } = request.body;

    const result = await payscribe.checkout.createSession({
      currency: "NGN",
      reference: `order_${crypto.randomUUID()}`,
      name,
      email,
      phone,
      origin: "https://merchant.example.com",
      successUrl: "https://merchant.example.com/payment/success",
      cancelUrl: "https://merchant.example.com/payment/canceled",
    });

    response.status(201).json(result.data);
  } catch (error) {
    if (error instanceof PayscribeApiError) {
      response.status(error.statusCode || 502).json({
        status: false,
        message: error.message,
      });
      return;
    }
    response.status(500).json({ status: false, message: "Unable to create checkout session." });
  }
});
When successful, Payscribe returns a public btn_... session token and a canvas_url, which you will pass to your frontend.
Step 2: Integrating on the Web
If you are building a web application, install the JavaScript checkout package:
npm install @payscribe/checkout-js
Once your frontend receives the session data from your backend, you can launch the checkout modal. Here is how it looks in a React application:
import { useEffect } from "react";
import PayscribeCheckout from "@payscribe/checkout-js";

export function PayButton() {
  useEffect(() => {
    // Clean up modal elements and listeners when unmounting
    return () => PayscribeCheckout.destroy();
  }, []);

  async function openCheckout() {
    const response = await fetch("/api/checkout-session", {
      method: "POST",
      headers: { "Content-Type": "application/json" },
      body: JSON.stringify({
        name: "Ada Lovelace",
        email: "ada@example.com",
        phone: "08012345678",
      }),
    });

    const session = await response.json();

    PayscribeCheckout.open({
      sessionToken: session.token,
      canvasUrl: session.canvas_url,
      onReady: (result) => console.log("Checkout ready", result),
      onSuccess: (result) => console.log("Payment successful", result),
      onError: (error) => console.error("Checkout error", error),
      onClose: (result) => console.log("Checkout closed", result),
    });
  }

  return <button onClick={openCheckout}>Pay with Payscribe</button>;
}
Step 3: Integrating with React Native and Expo
For mobile developers, Payscribe offers a dedicated React Native package. You will need to install the SDK and its WebView dependency:
npm install @payscribe/checkout-react-native
npx expo install react-native-webview
Note: For bare React Native iOS apps, run pod install in your ios directory.
The mobile package presents a full-screen native modal. It intelligently handles events crossing the WebView boundary and maps them to the same callbacks used on the web.
import { useState } from "react";
import { Alert, Button, View } from "react-native";
import PayscribeCheckout from "@payscribe/checkout-react-native";

export default function PaymentScreen() {
  const [session, setSession] = useState<any | null>(null);

  async function openCheckout() {
    const response = await fetch("https://merchant.example.com/api/checkout-session", {
      method: "POST",
      headers: { "Content-Type": "application/json" },
      body: JSON.stringify({
        name: "Ada Lovelace",
        email: "ada@example.com",
        phone: "08012345678",
      }),
    });

    setSession(await response.json());
  }

  return (
    <View>
      <Button title="Pay with Payscribe" onPress={openCheckout} />

      <PayscribeCheckout
        visible={session !== null}
        sessionToken={session?.token}
        canvasUrl={session?.canvas_url}
        title={session?.business_name ? `${session.business_name} Checkout` : "Checkout"}
        onSuccess={(result) => Alert.alert("Payment successful", result.reference)}
        onError={(error) => Alert.alert("Checkout error", error.message)}
        onClose={() => setSession(null)}
      />
    </View>
  );
}
Customization and Event Handling
Payscribe Hosted Checkout automatically applies your merchant branding returned with the session. This includes your business name, logo, button color, and button text. The UI will preload your custom logo before revealing the interface to prevent default branding from flashing on the screen.
Both the web and mobile client packages expose a consistent event model so your app can react appropriately:
- onReady : Fired when the checkout has loaded.
- onSuccess : Fired when payment and fulfillment are successful.
- onError : Fired if validation, payment, or transport fails.
- onClose : Fired when the customer closes the checkout.
Crucial Security Rules Before Going Live
Before you switch your environment to production, double-check these security rules:
- Keep your server credentials strictly in backend environment variables.
- Never place a secret key in React, Vite, Next.js client code, mobile bundles, or Expo variables prefixed with EXPO_PUBLIC_.
- Only expose publishable keys (pk_test_... or pk_live_...) to browsers or mobile applications.
- Ensure every single checkout attempt generates a unique reference.
- Validate customer input on your backend before creating a session don't let unchecked input reach Payscribe.
- Use HTTPS for every production API endpoint, origin, and redirect URL.
- Always verify the final transaction status on your server side before delivering irreversible value to the customer never rely solely on client callbacks.
Testing Before You Ship
Run through this checklist in sandbox before you flip anything to production.
Sandbox
- Configure @payscribe/sdk with environment: "sandbox".
- Use test credentials and generate a fresh reference for every attempt.
- Confirm session creation returns token, canvas URL, expires_at, and your merchant branding.
- Test every service type you actually support (Airtime, Data, Electricity, Cable TV, Betting).
- Confirm plan and bouquet lists load correctly after picking a provider or network.
- Confirm electricity validation shows the expected customer name.
- Confirm Cancel, Close, error handling, and success callbacks all fire correctly.
- Test both narrow mobile screens and desktop browser widths.
React Native and Expo
- Test iOS Simulator and Android Emulator separately.
- Test at least one physical device over HTTPS before release.
- Remember localhost on a physical phone refers to the phone itself, not your dev machine use your machine's LAN address or a reachable HTTPS backend (Android Emulator typically uses 10.0.2.2; iOS Simulator can usually use localhost).
- Confirm inputs don't trigger unwanted iOS focus-zoom behavior.
- Confirm merchant branding only appears after it's finished loading.
- Confirm closing the modal resets your local session state.
Before going to production
- Switch the SDK environment to production.
- Use production credentials, and don't commit them anywhere.
- Point success, cancel, and API URLs at production HTTPS endpoints.
- Double-check your merchant origin configuration.
- Verify the backend status before fulfilling any service.
Ready to Build?
Integrating bill payments doesn't have to mean reinventing the wheel. With Payscribe Hosted Checkout, you can provide a beautiful, branded, and secure payment experience in just a few lines of code.
Happy coding!
Need help? If you run into any issues integrating Payscribe Hosted Checkout, reach out to our team at support@payscribe.co.